This guide explains how to use ThatsLog as a GPS find logging app for metal detecting: record discoveries, review detecting routes and organize your collection. ThatsLog helps you record finds quickly and keep them clearly documented over time. In the field, you decide: photograph a find directly with GPSCam or keep your phone in your pocket and create finds later from automatically detected search stops.
Quick start
You need neither a user account nor a permanent internet connection for your first detecting trip. You have two ways to record finds in the field.
Option 1: With a photo
Discover a find, photograph it with the integrated GPSCam, and keep detecting. Time, GPS location, and detecting trip are carried over automatically.
Option 2: Without a photo
Keep your phone in your pocket. ThatsLog records the detecting trip and automatically detects search stops. After the trip, select the relevant stop points and create finds from them with one click.
Launch the app on your phone or tablet.
Start a new detecting trip to begin recording your route.
Photograph finds with GPSCam or keep your phone in your pocket and record them later using the detected search stops.
Edit the GPS track, title, description, category, date, and other details after the trip.
With GPSCam, one photo is enough. Without a photo, the recorded detecting trip is enough: select a search stop, create a find, and carry over its time and GPS data.
Document a find
Quickly with ThatsLog GPSCam
GPSCam is designed for recording finds during a detecting trip. The photo provides the starting point for your find record. Date, time, GPS location, and the associated detecting trip can be imported automatically.
Create from a search stop
If you did not take a photo during the detecting trip, you can select an automatically detected search stop in Track Lab and create a find from it with one click. The stop time and GPS data are carried over to the new find.
Create manually
You can also record a find entirely by hand without importing a photo. Depending on the find, the following details are available:
Basic data
Title, description, date, time, category, and year or period.
Assignment
GPS location, detecting trip, tenant or owner, favorite status, and precious metal.
Images
Add and remove multiple photos and arrange them in the desired order.
Custom details
Custom fields for information that matters to you.
Set the find location
Place the find point directly on the map, move the marker, or enter latitude and longitude. Check the location before saving, especially if the GPS signal was weak in the field.
Back to top ↑GPSCam and detecting trips
A detecting trip records your route and links it to your finds. You can photograph finds with GPSCam while detecting or keep your phone in your pocket and create them later from automatically detected search stops.
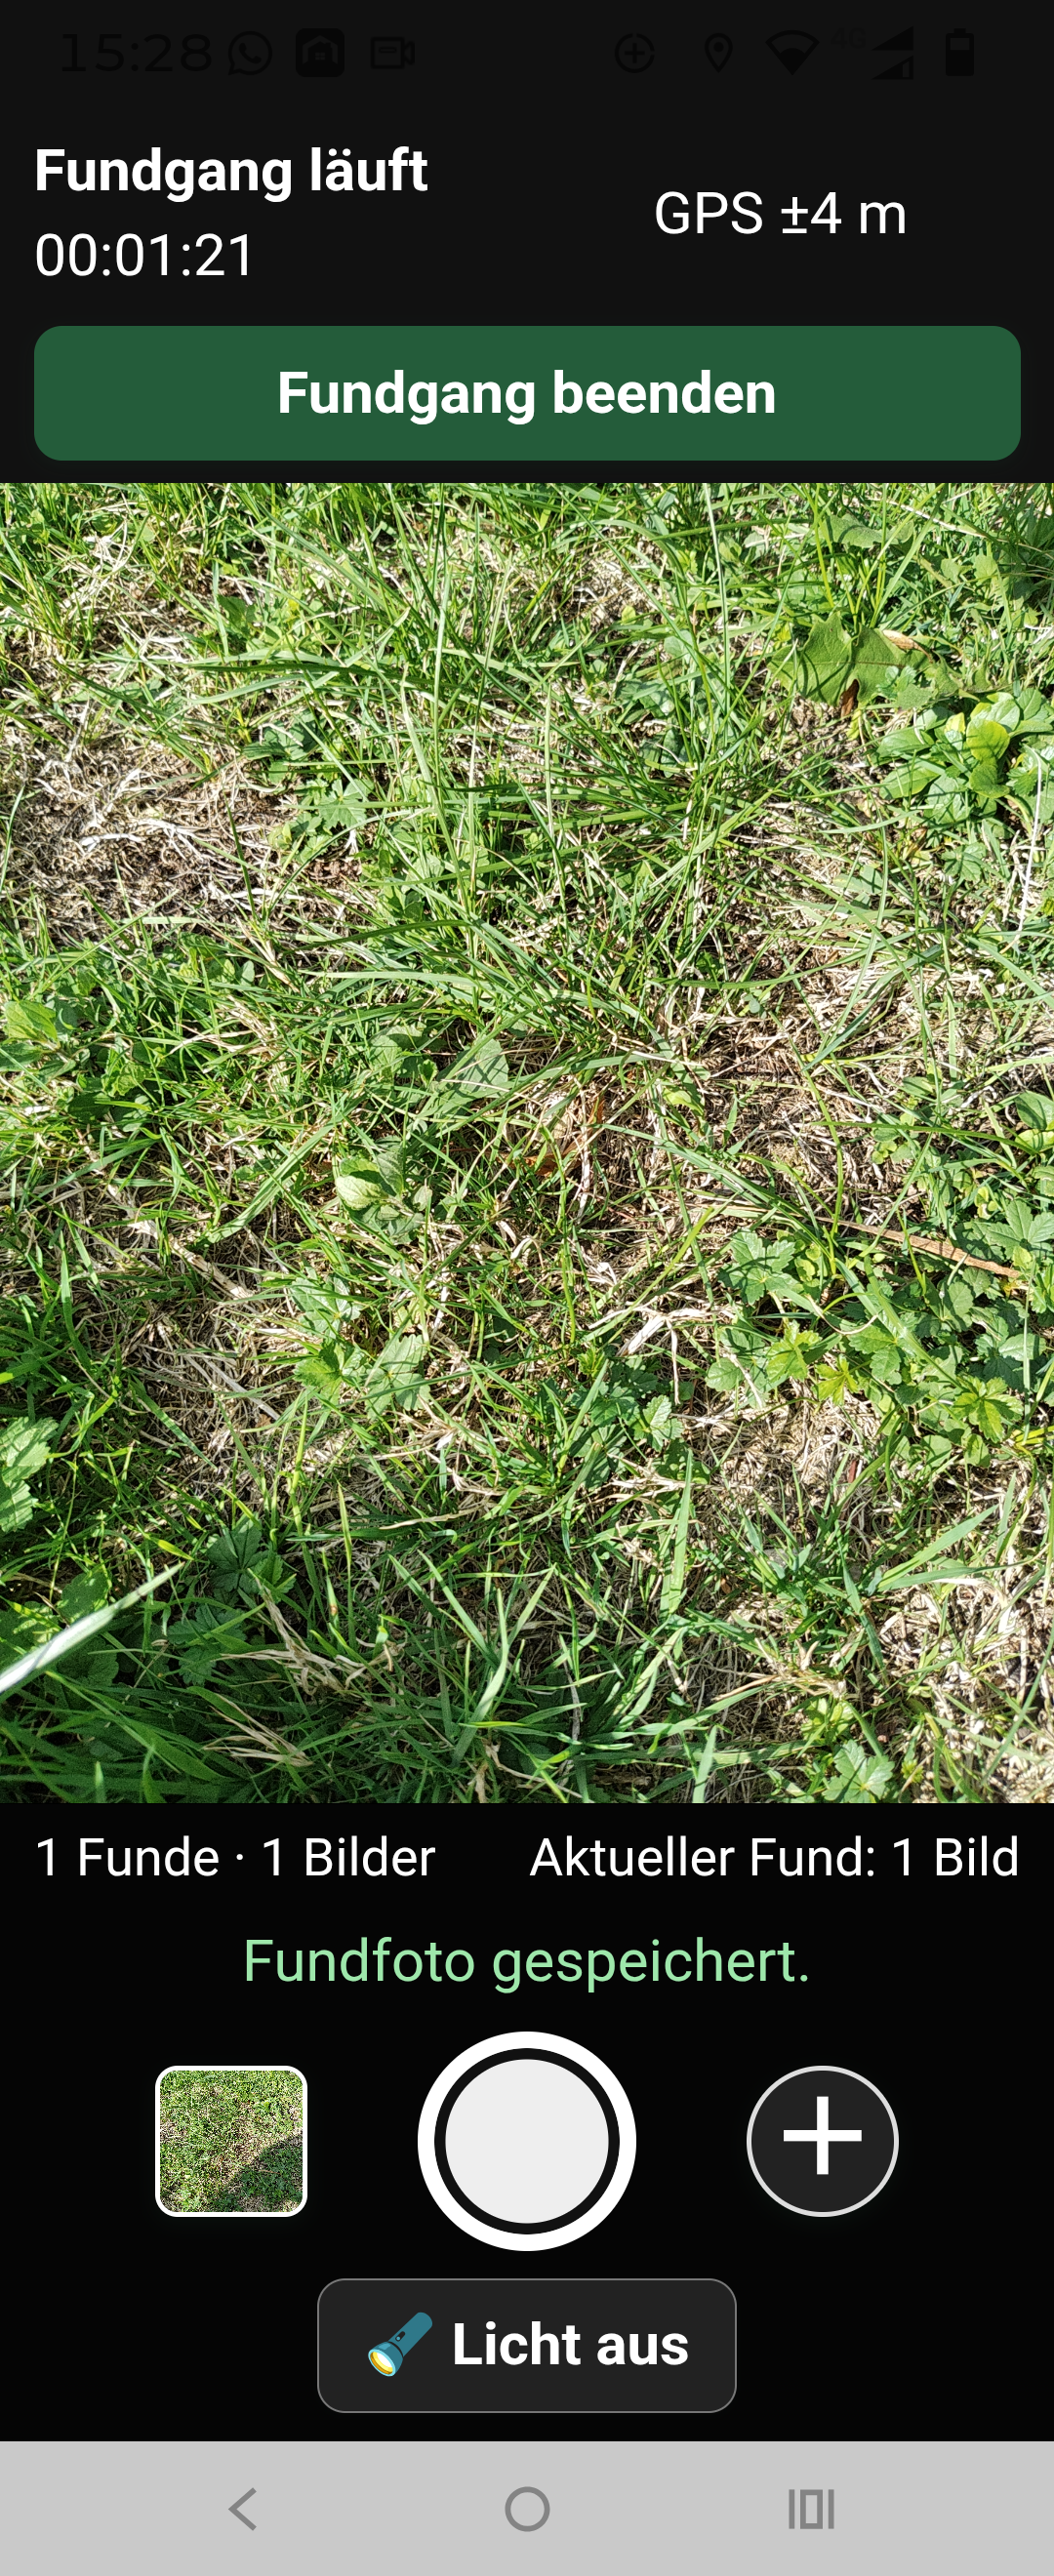
Give it a clear name so you can quickly find the detecting day later.
Keep location recording active while detecting. Make sure ThatsLog has the required location permission.
Use GPSCam for a find photo on site – or keep your phone in your pocket. Search stops can be selected later in Track Lab and turned into finds.
Stop recording after the search, then check the route and assigned finds.
Dense woodland, buildings, or a covered phone can affect location accuracy. Give the device a moment to determine its position before starting.
Track Lab and GPX
Track Lab helps you review and process recorded detecting trips. The original raw track is retained as the starting point while you create an optimized version.
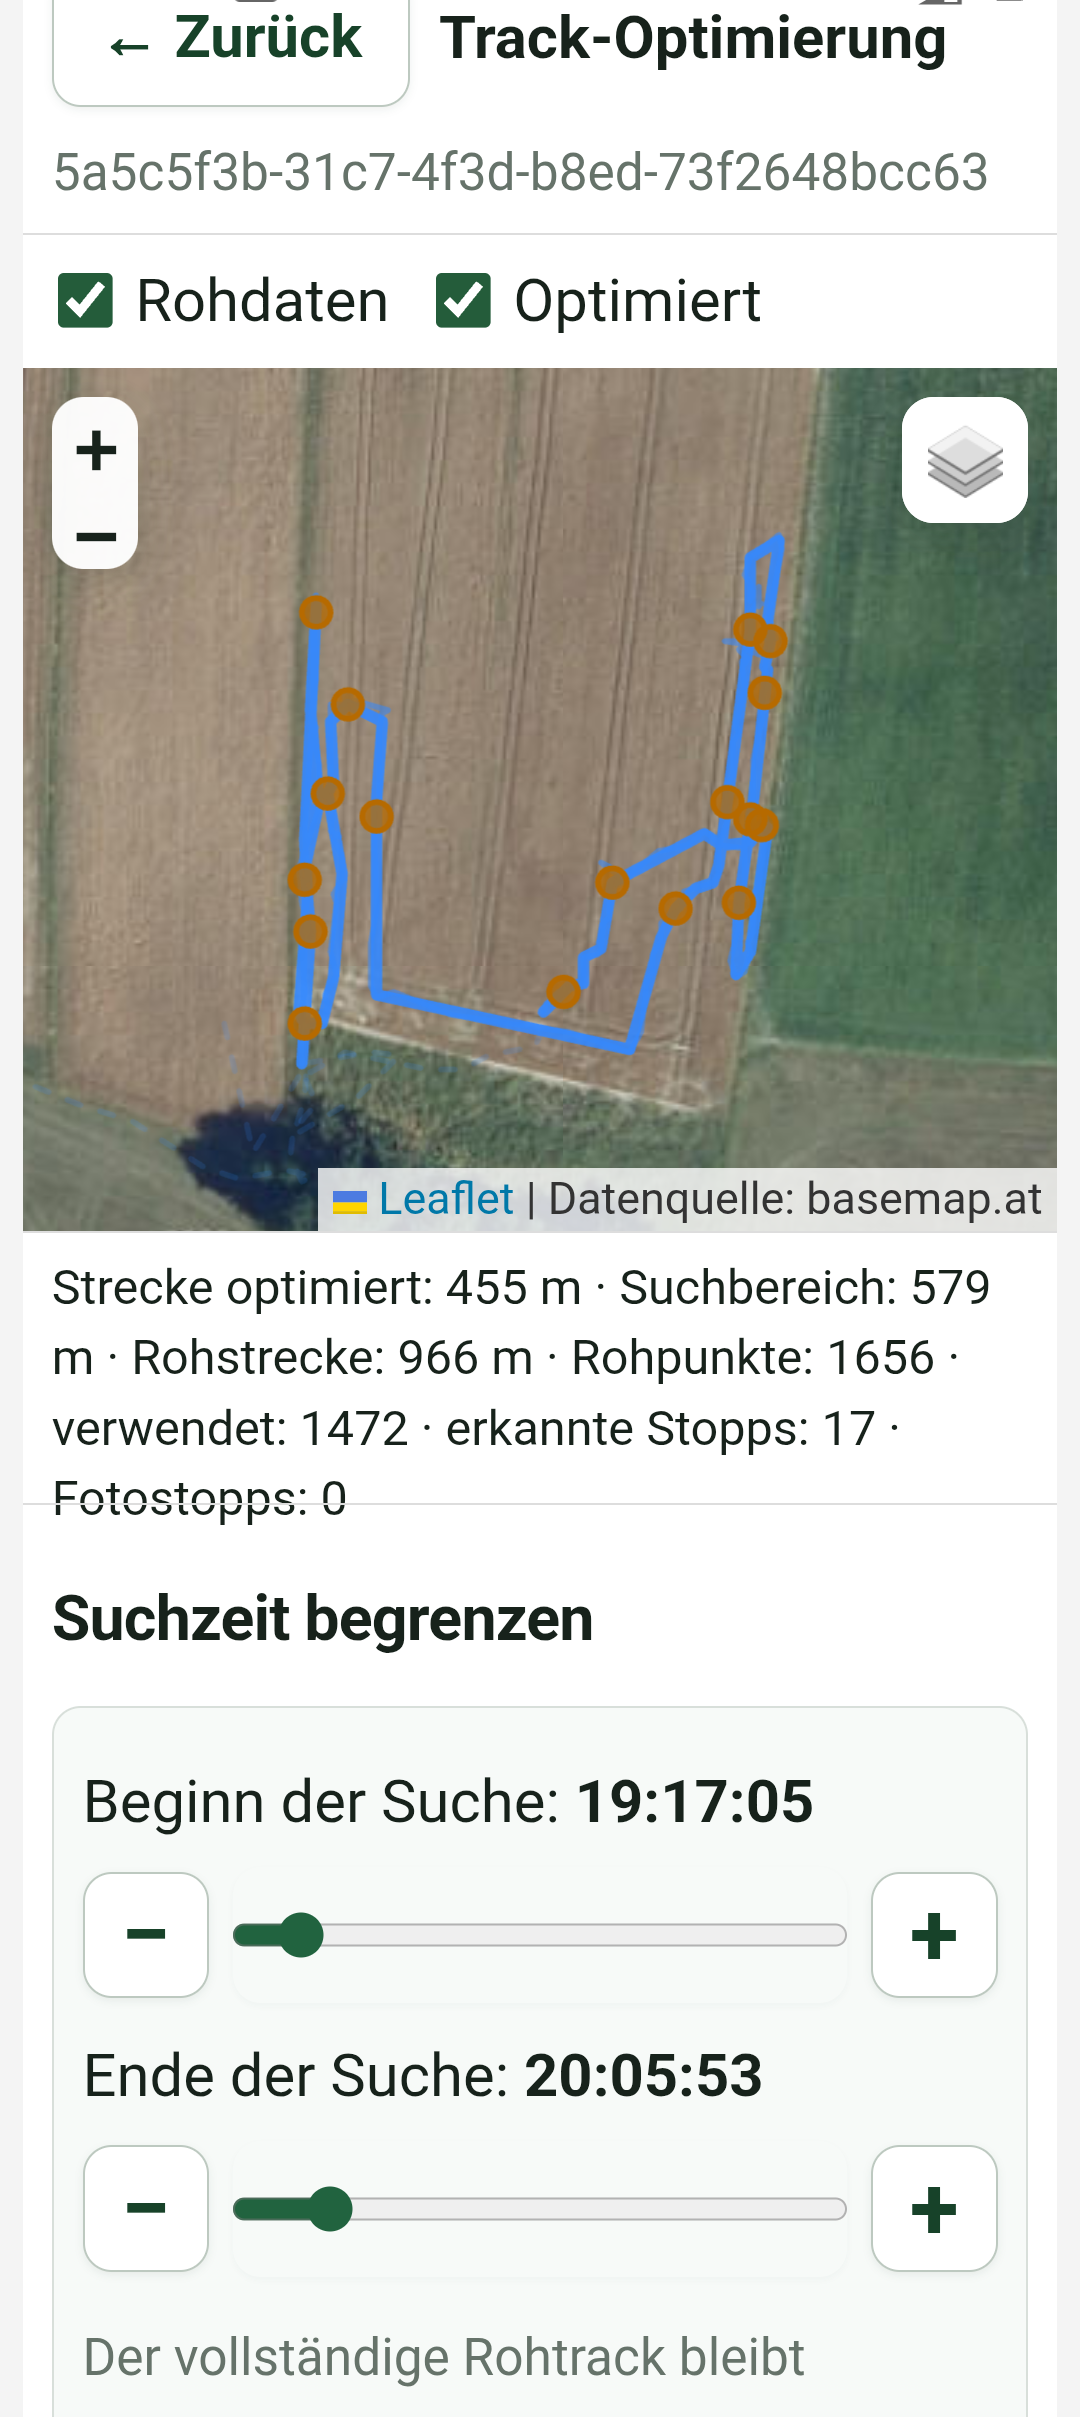
- Raw track archive
- Keeps the original recording as an unchanged reference.
- Track cleanup
- Reduces implausible or disruptive data points and makes the route clearer.
- Search-stop detection
- Automatically detects longer stops. Relevant stops can be selected later and turned into new finds with one click; time and GPS data are carried over.
- Path straightening
- Smooths the route and aligns search paths more clearly.
- Distance comparison
- Shows how optimization changes the calculated distance.
- Custom parameters
- Let you adapt optimization to the terrain, detecting method, and recording quality.
Recommended workflow
Open the desired detecting trip in Track Lab.
Start with the existing settings and review the route, stops, and distance.
Compare the raw and optimized tracks. Adjust the parameters only if the result does not match your actual route.
If you worked without find photos, select the relevant detected search stops and create the finds from them. ThatsLog carries over the time and GPS data of each stop.
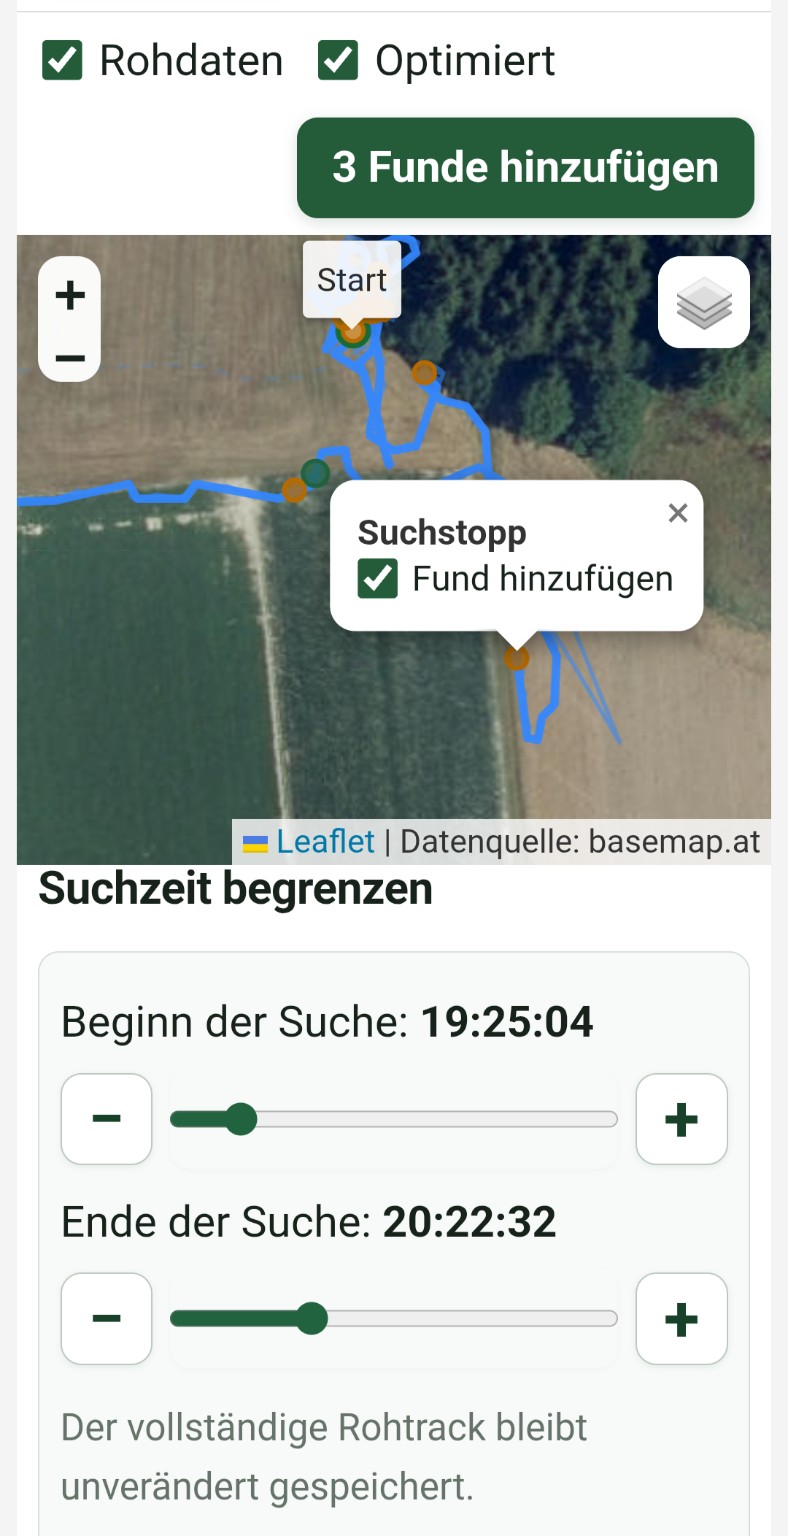
Save the reviewed version for further use.
Export the detecting trip to archive it or use it in another suitable mapping application.
Stronger smoothing is not automatically better. Always check that search paths, turning points, and relevant stops remain realistic.
Find and manage finds
In the find overview, you can search, filter, and sort your data. This lets you quickly locate individual finds even in a large collection.
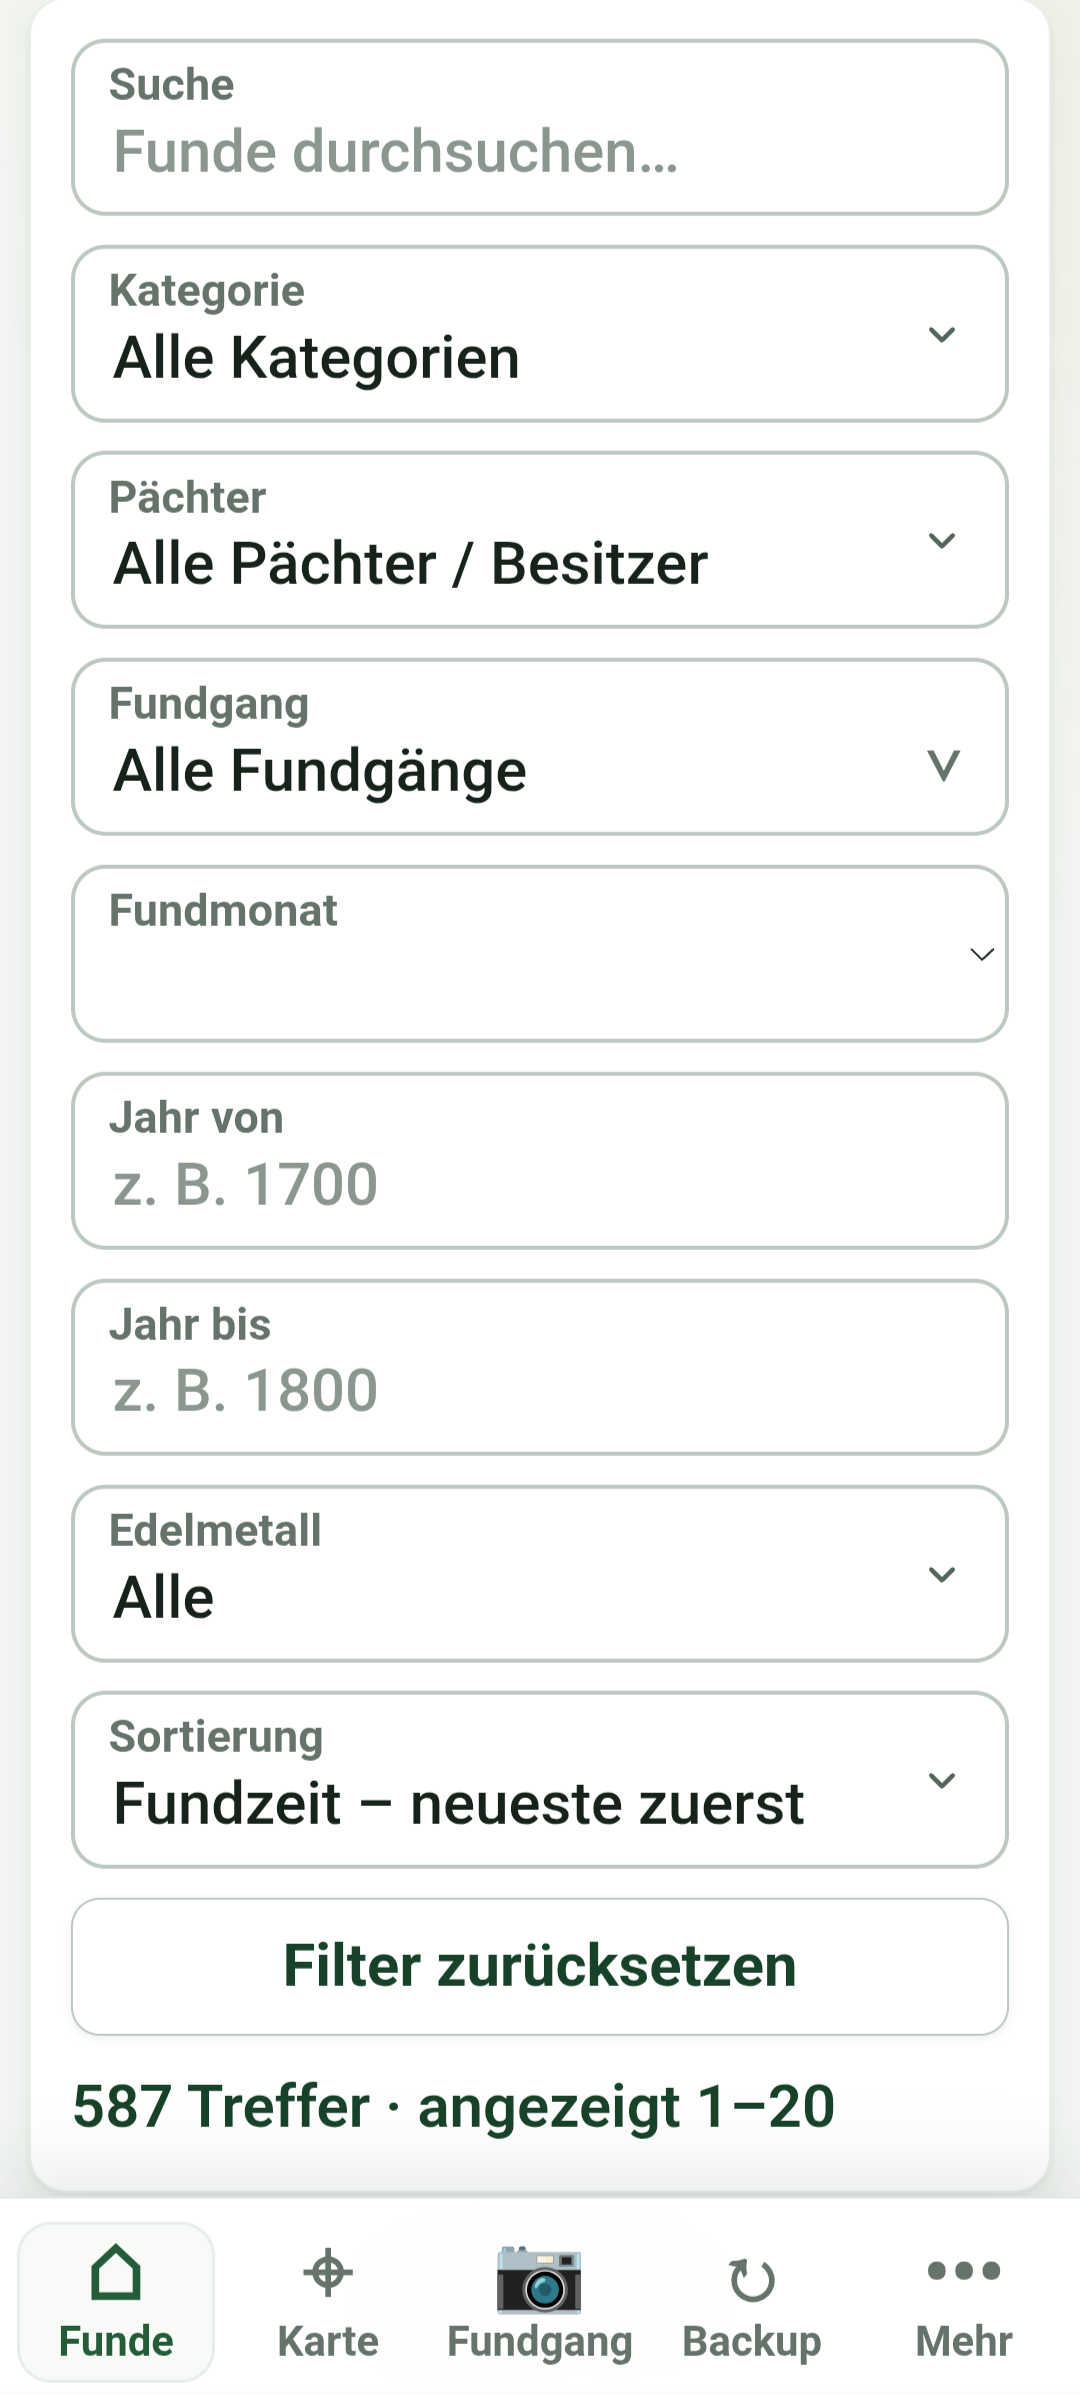
Search
Use full-text search for names, descriptions, and other find details.
Filter
Narrow results by category, month, detecting trip, year range, or tenant or owner.
Sort
Sort by find time, age or year, or show favorites first.
Edit
Add details, manage images, or edit multiple selected finds.
Mark special pieces as favorites or identify precious-metal finds. Custom fields help you maintain your personal documentation style.
Back to top ↑Use maps
The map view shows find points and detecting trips in their spatial context. Depending on availability, you can use a standard map or an orthophoto.
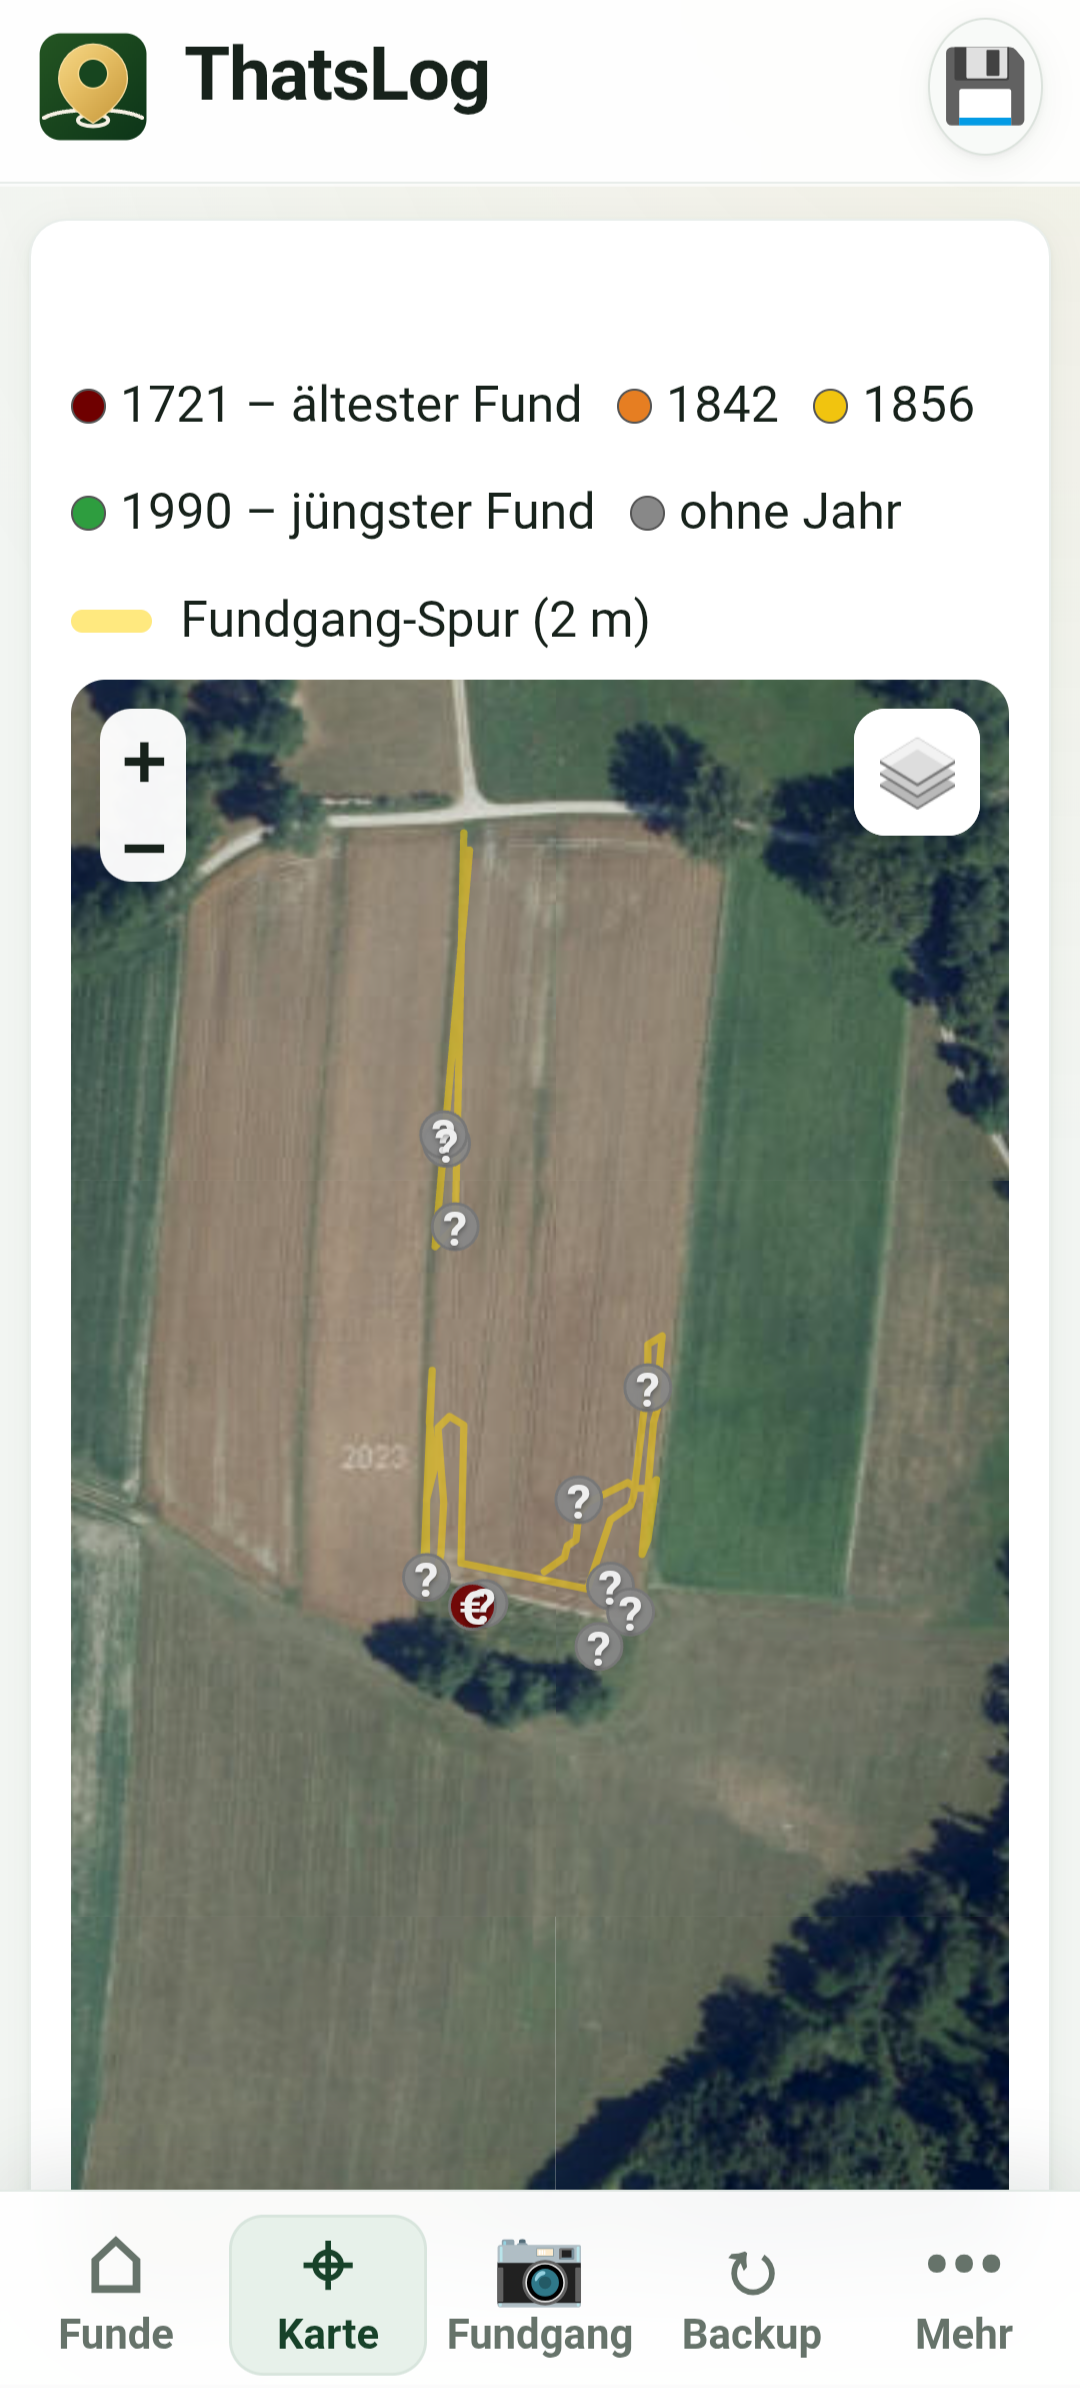
- Check find locations and correct them if necessary
- View all finds from a detecting trip together
- Review routes and search areas
- Switch map styles when another view provides more detail
An internet connection may be required for map material. Find data already stored locally remains available independently.
Back to top ↑Coins and Numista
For coin finds, you can manage coin master data in addition to general find information. Numista data helps you identify and record coins consistently.
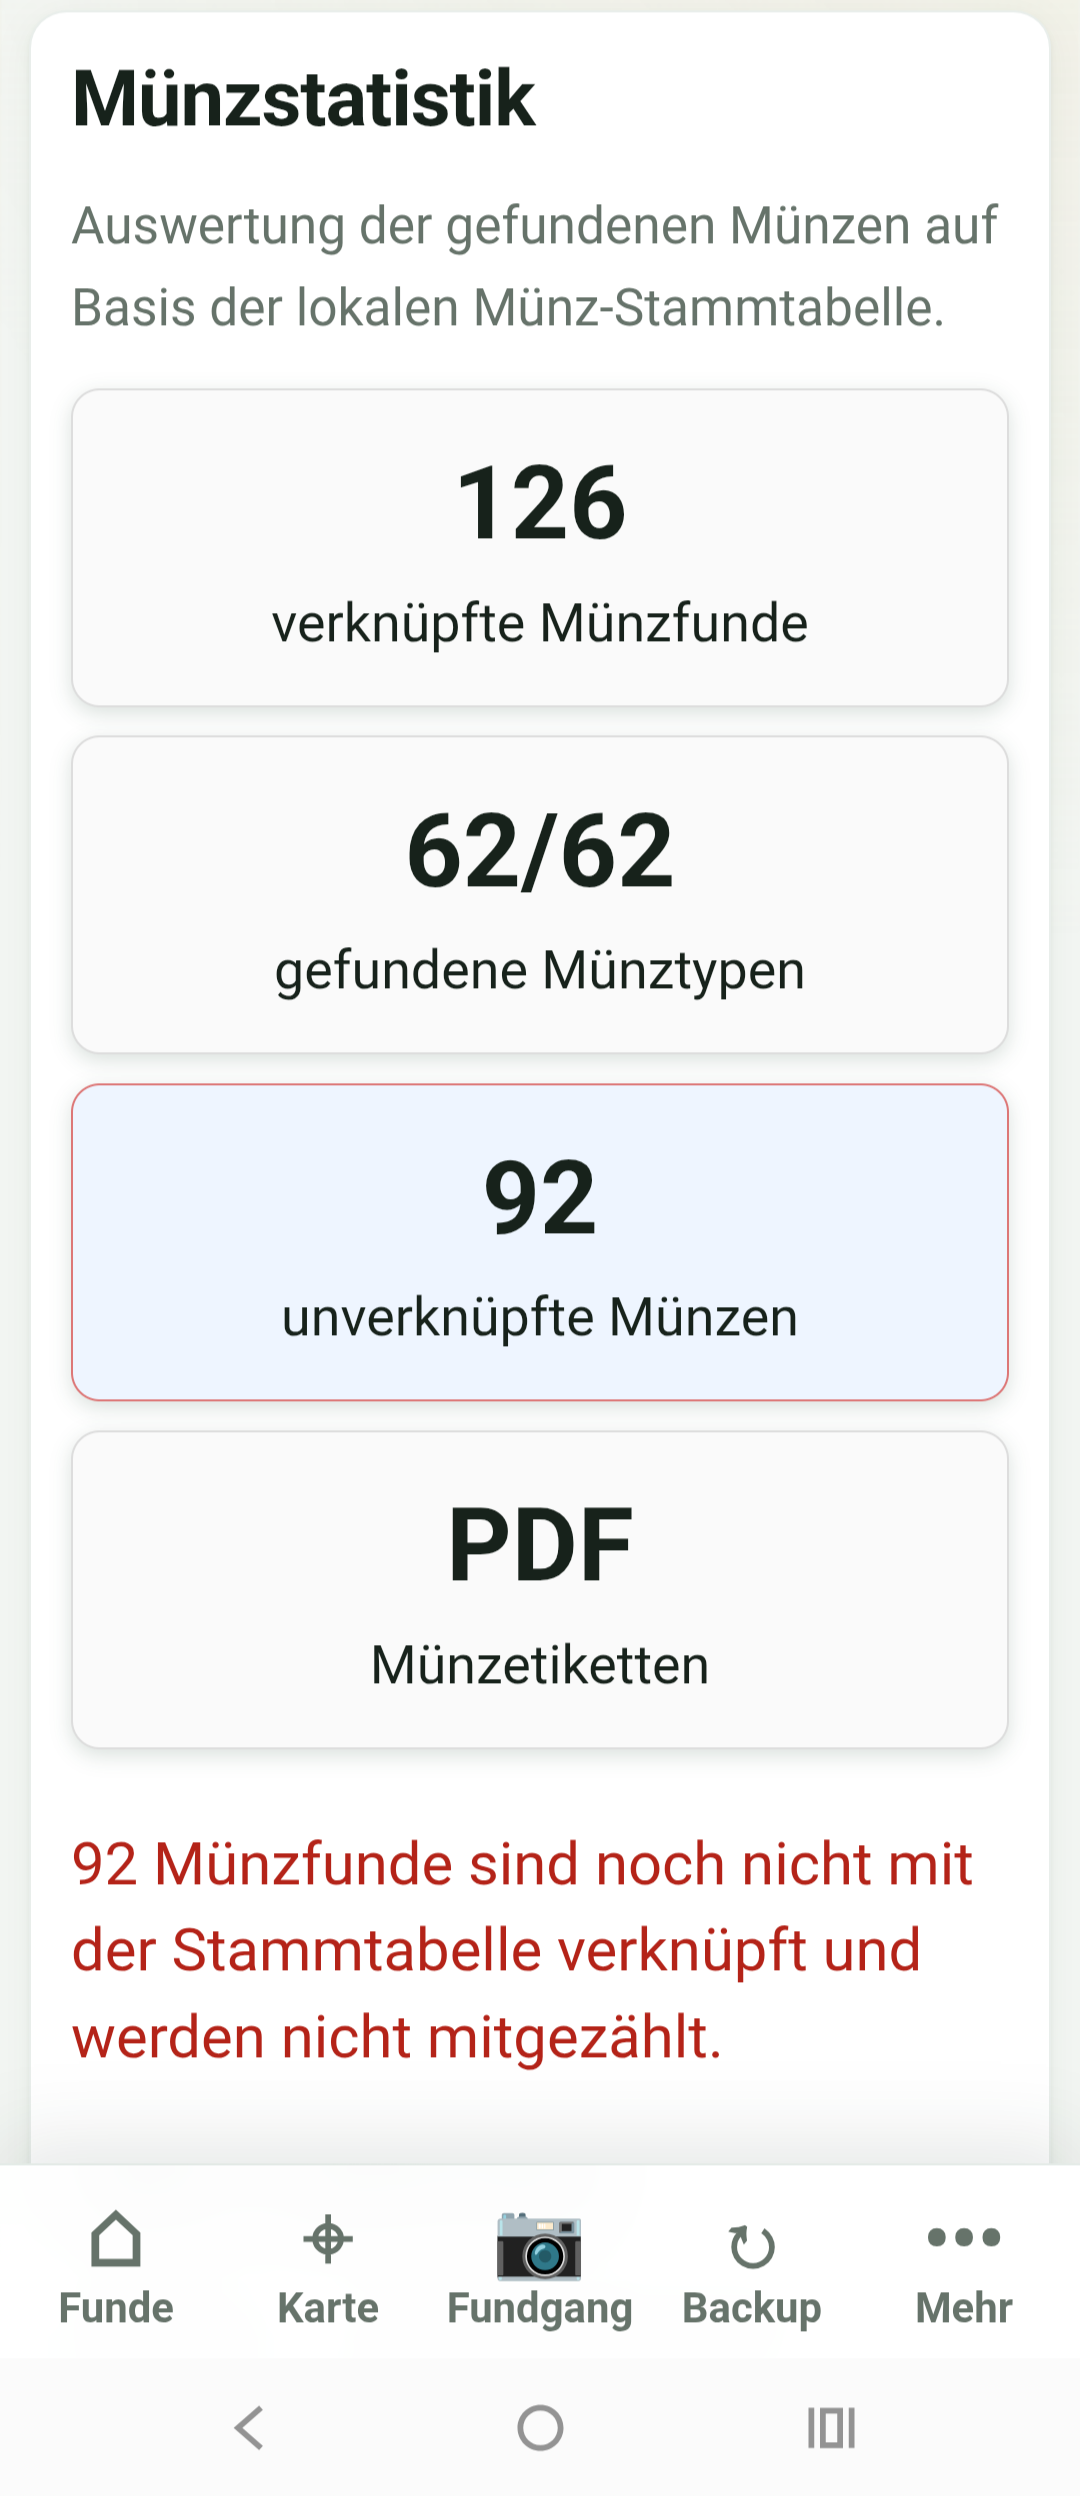
Select the relevant find and open the coin data.
Assign an existing type or create a new entry.
Review the retrieved details and import the relevant information.
Add your own images and identification notes.
Automatically imported details are an aid. Compare them with your find before completing the identification.
CSV and Conota import
Existing find lists do not need to be re-entered. ThatsLog can import data from CSV files and Conota.

- Create a complete backup before a large import.
- Open the import section and select the appropriate source format.
- Select the file to import.
- Check the field mapping and preview.
- Start the import, then check several sample records.
Pay particular attention to date formats, coordinates, categories, and image assignment. For many records, start with a small test import.
Back to top ↑Create a PDF export
You can create clear documents and reports from your finds – for example, for your own records or to share with tenants and owners.
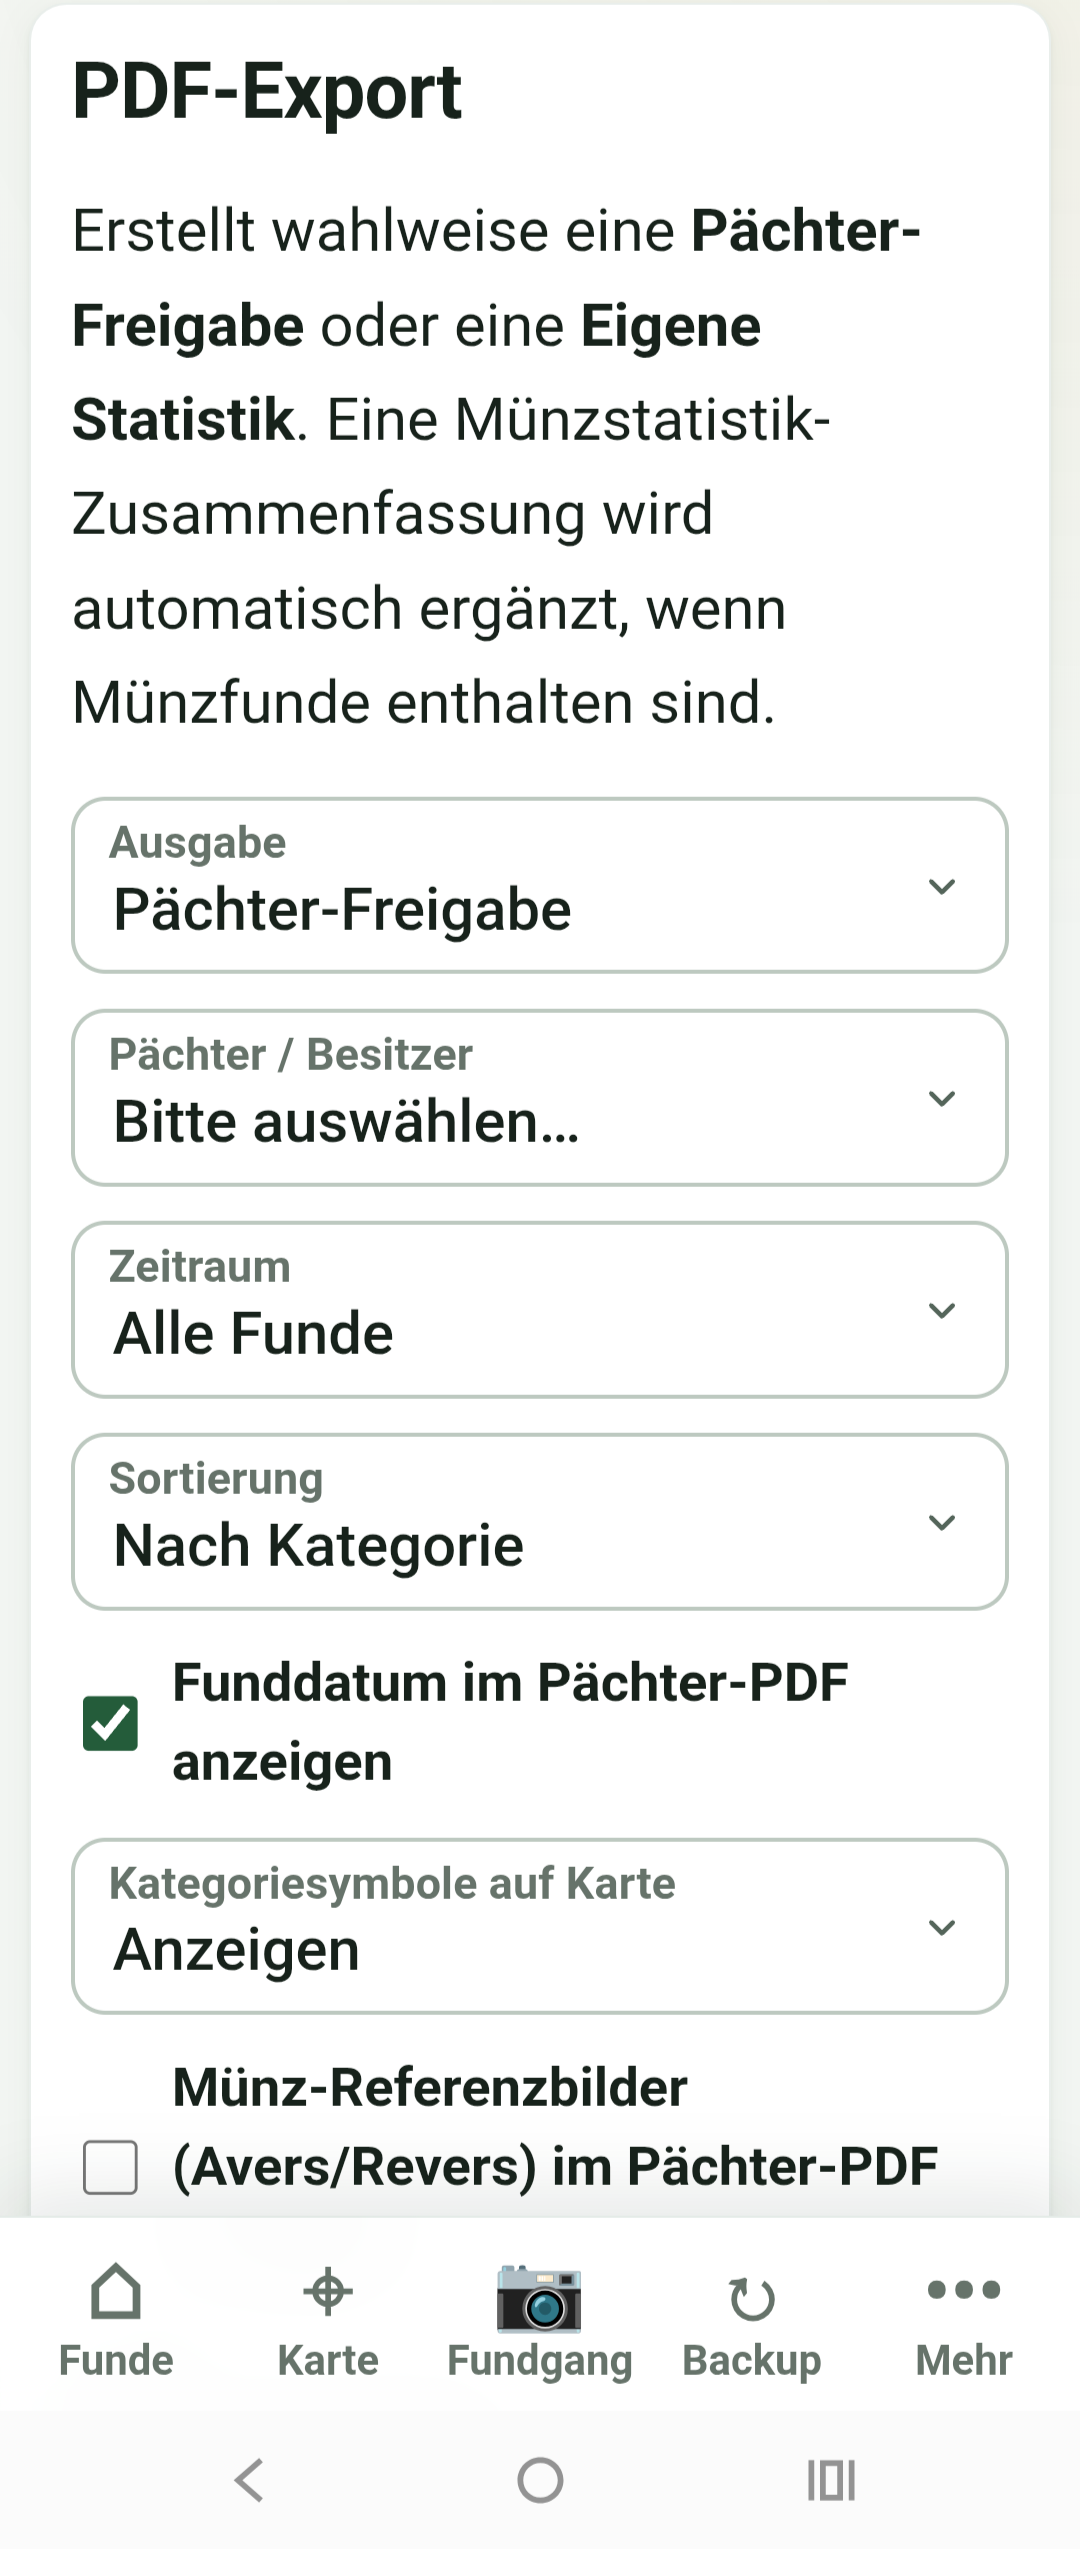
- Select the desired finds or narrow them down with filters
- Include images and coin data as needed
- Decide whether location information should be included
- Generate the PDF and review it before sharing
Before sending, always check whether exact find locations should really be included.
Local storage and device synchronization
ThatsLog stores your data locally on the device. Registration with ThatsLog is not required.
Local storage
Your finds, field trips, settings and images are stored directly on your device and remain available without an internet connection.
Device synchronization
You can use Google Drive to synchronize your devices. If you want to work completely offline, you can transfer the data state using ZIP migration instead.
If you use multiple devices, fully transfer the current state via Google Drive or ZIP migration before continuing on another device.
Back to top ↑Backup and synchronization
Backup and synchronization serve different purposes:
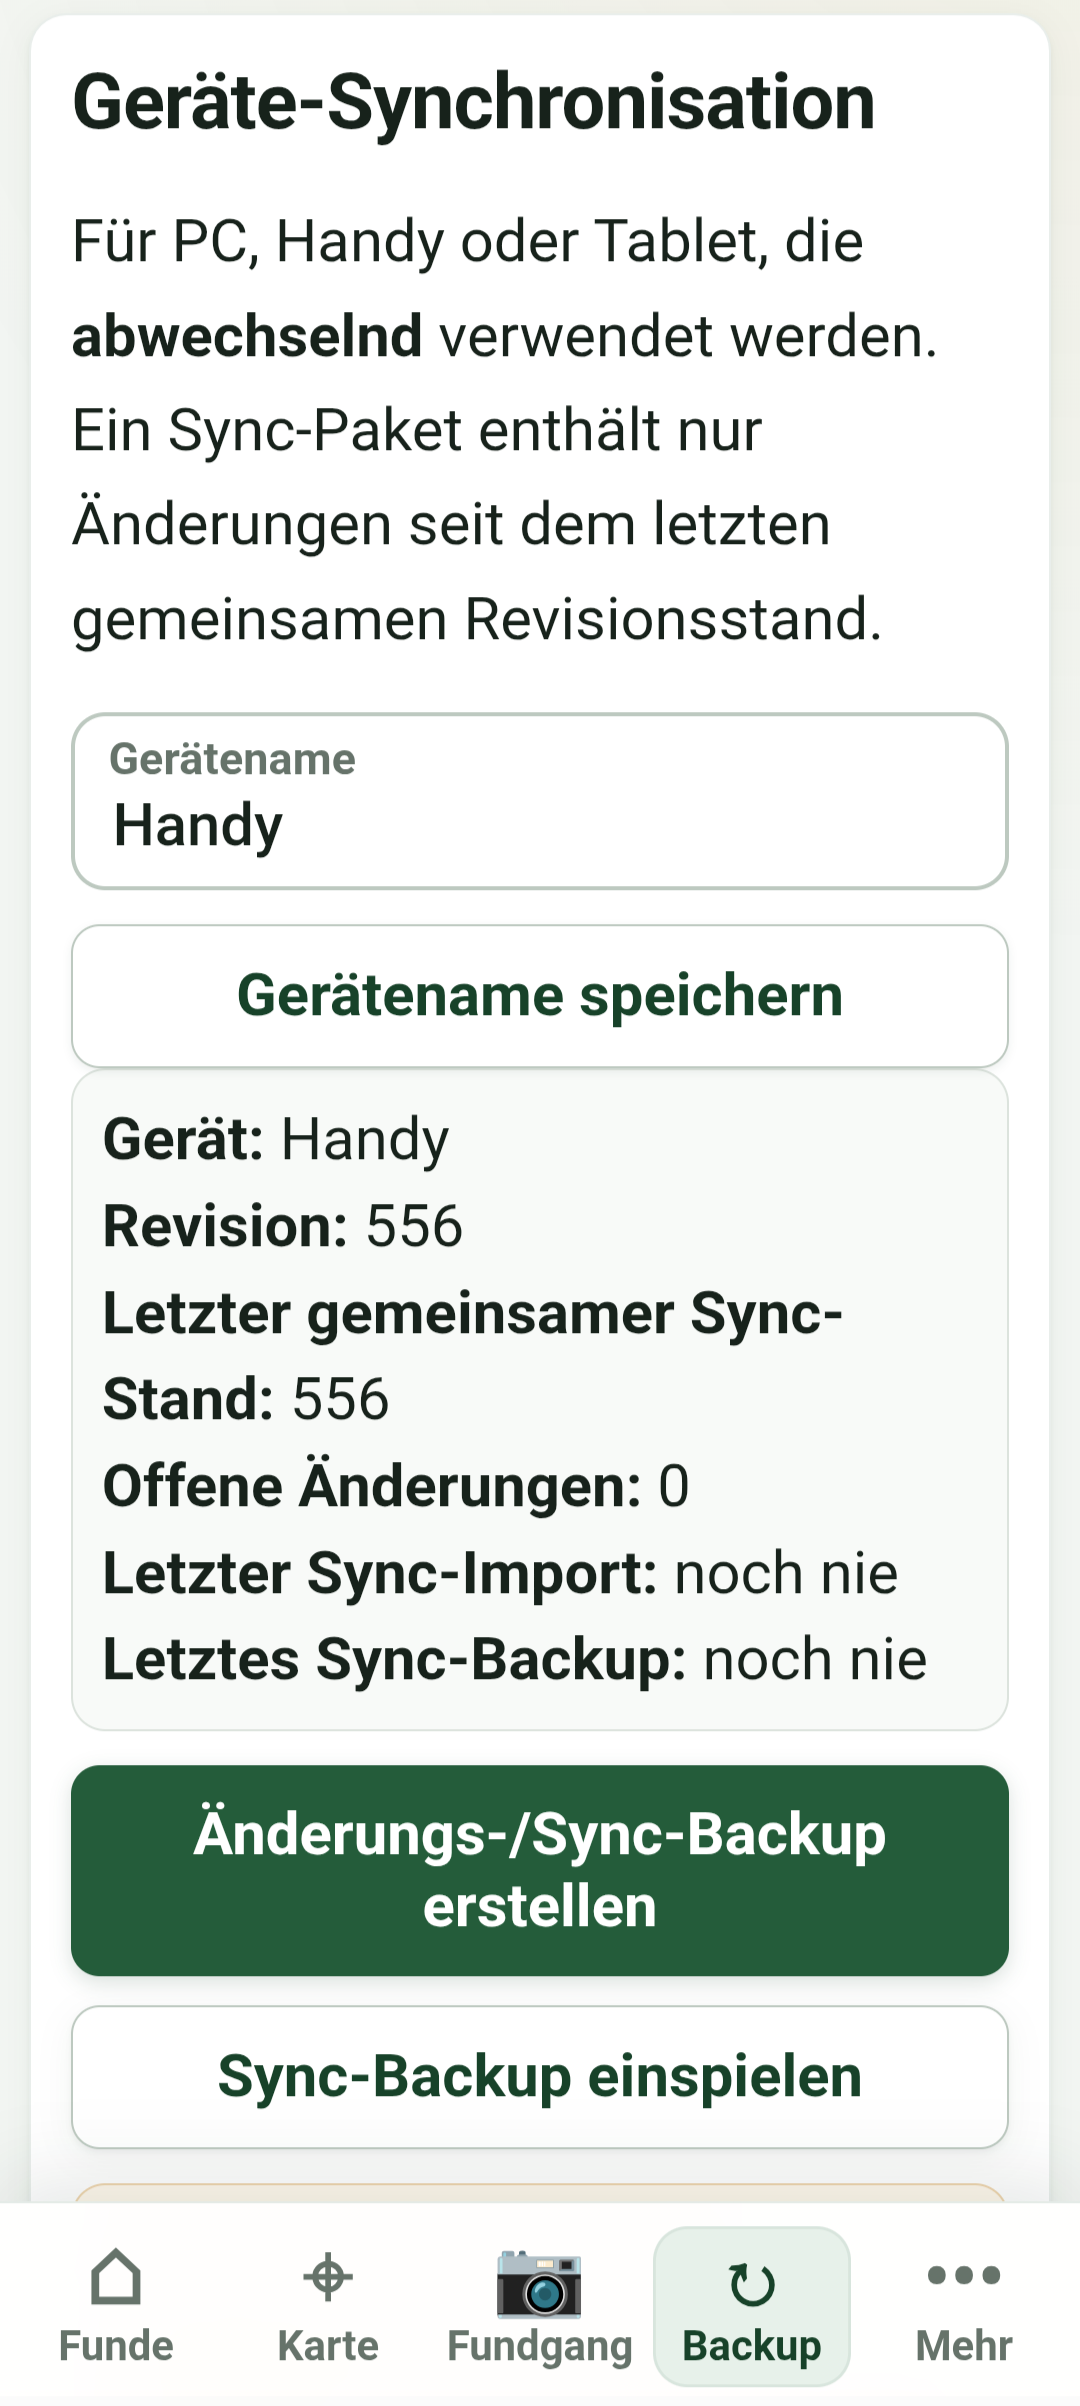
- Complete backup
- Saves all your data for recovery. Create one regularly and keep an additional copy outside the device you use.
- Synchronization
- Synchronizes the current data state between your devices via Google Drive or completely offline using ZIP migration. Synchronization does not replace a complete backup.
Always create a current full backup before imports, extensive changes, switching devices, or restoring data.
Restore
Before restoring a backup, check the file's date and origin. A restore may replace the existing data. If in doubt, back up the current state first.
Back to top ↑Practical tips
- Start location detection shortly before beginning the detecting trip.
- Photograph the find as close to its location as possible.
- Remember to stop track recording after the detecting trip.
- Complete and review your finds promptly while your memory is fresh.
- Use clear names for detecting trips and consistent categories.
- Review optimized tracks before applying or exporting them.
- Create complete backups regularly.
Your finds, your data. You decide what is stored, backed up, or shared.
Fair funding
ThatsLog is intended to remain free to use permanently. Development, maintenance, and provision still require ongoing work. Funding is therefore primarily based on two fair pillars:
Voluntary user donations
If ThatsLog helps you, you can support further development with an amount of your choice. Donations are voluntary and not required for use.
Metal detector retailers
Retailers can help fund development. Corresponding retailer notices are placed unobtrusively and clearly in the page footer.
No pop-up advertising, no disruptive ad breaks, and no features behind a paywall. Find documentation remains the focus.